Create conversational experiences with characters, bots and avatars in VR / AR / 3D / 360 across devices and platforms with wit.ai and LearnBrite. Have fun!
Jump to:
Wit.ai / LearnBrite Character Conversational Experiences
Before you start (requirements)
Request activation of wit.ai for your space
Wit.ai / LearnBrite Character Conversational Experiences
Wit.ai, combined with LearnBrite, can build fully autonomous AI driven avatars. Build a sales bot, advice bot, info bot or companion bot. Connect your wit.ai agent to a LearnBrite avatar and begin talking to it. Just follow this tutorial. A little Javascript knowledge is handy.
Before you start (requirements)
This tutorial explains hooking a wit.ai bot to LearnBrite. It assumes you have already created a wit.ai agent and have an available wit.ai Server Access Token. This can be found within settings of your wit.ai app, please copy and add your wit app server access token whenever you see “YOUR_WIT_SERVER_ACCESS_TOKEN” in the example code.
This tutorial assumes you are familiar with wit.ai and javascript. You are required to build a small custom code file that works with your wit app. This file will need to be supplied to LearnBrite support and attached to an available space.
Visit https://wit.ai
Setting up the 3D environment
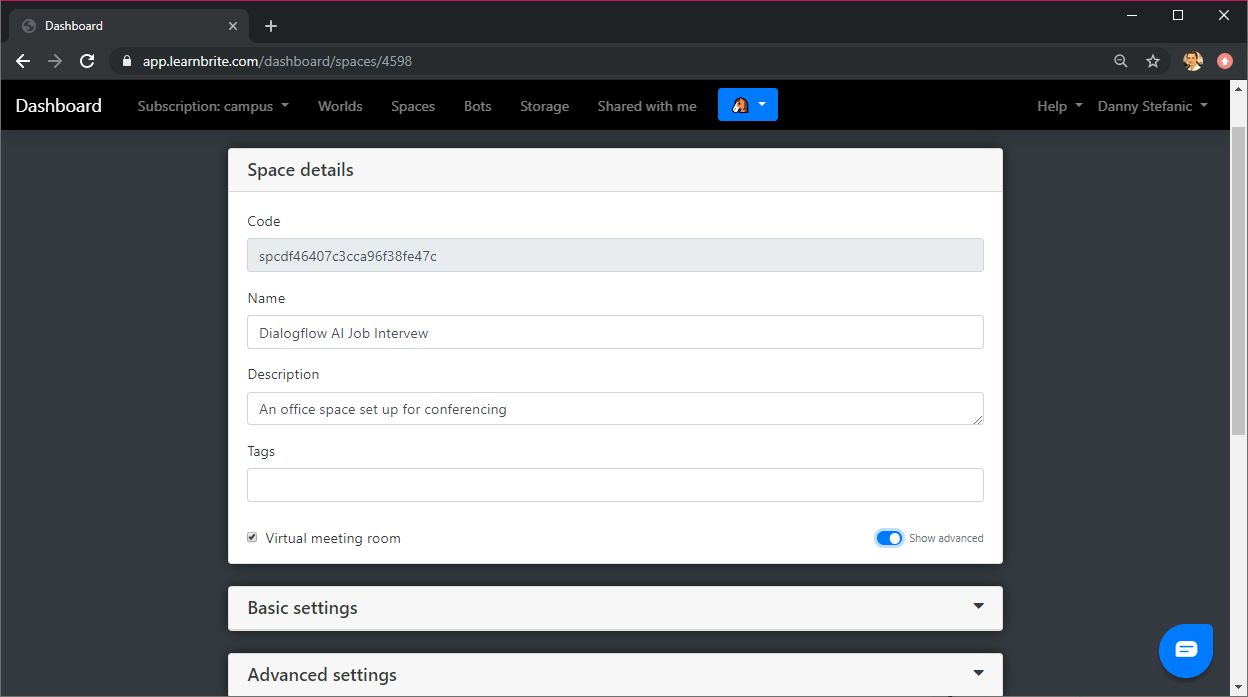
Create a Space

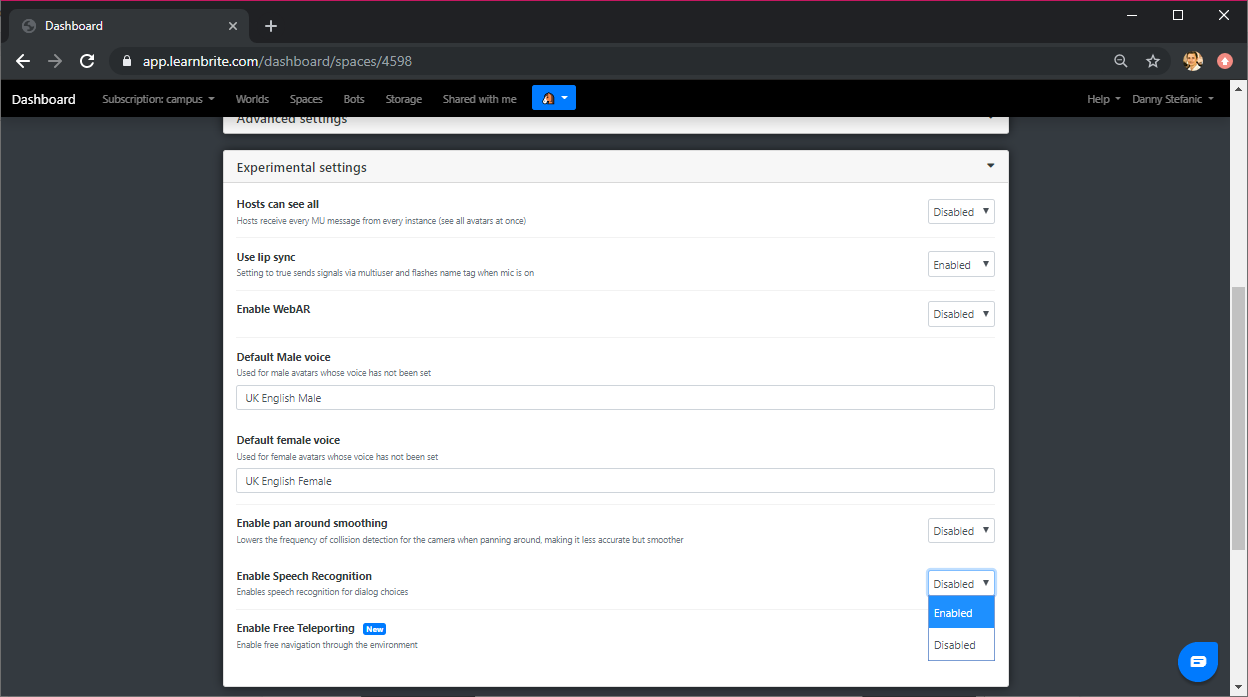
Enable Speech
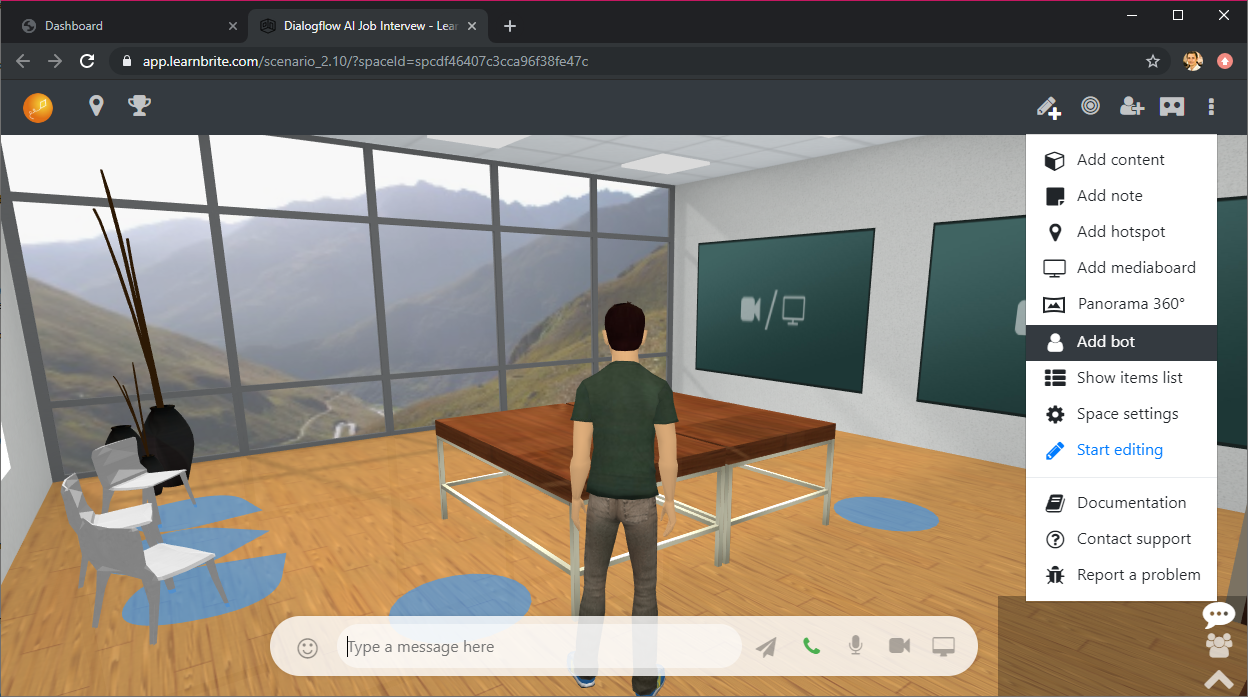
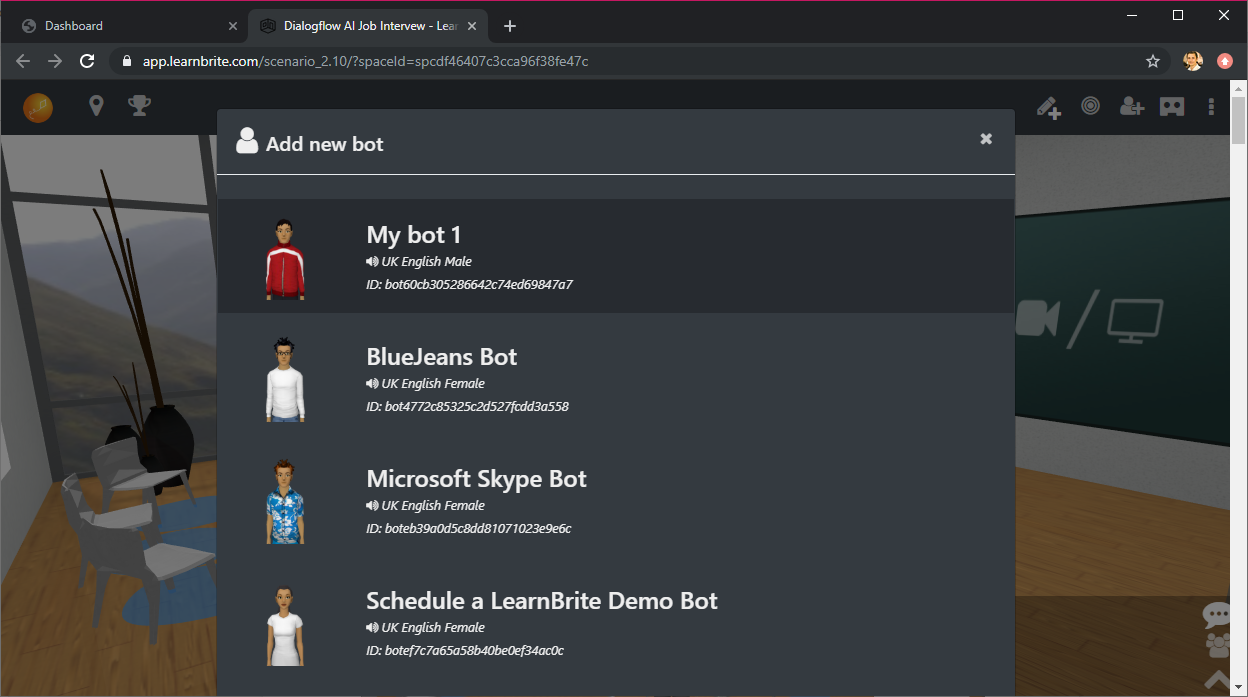
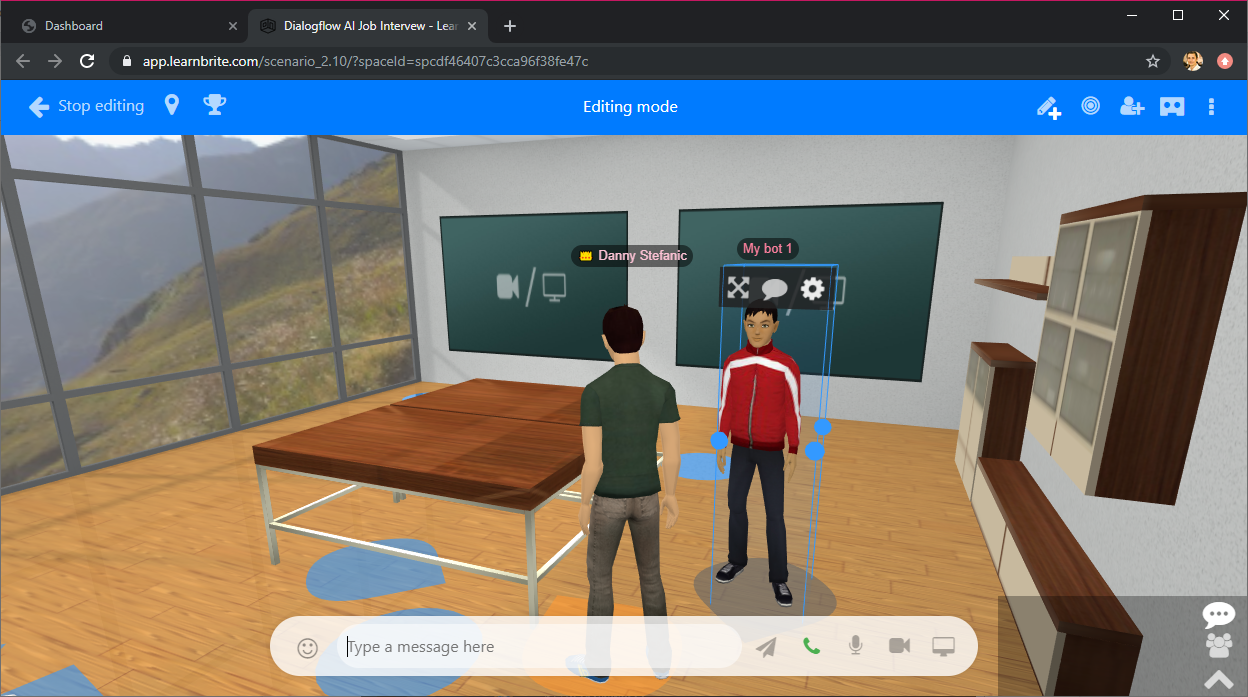
Add Bot to Space
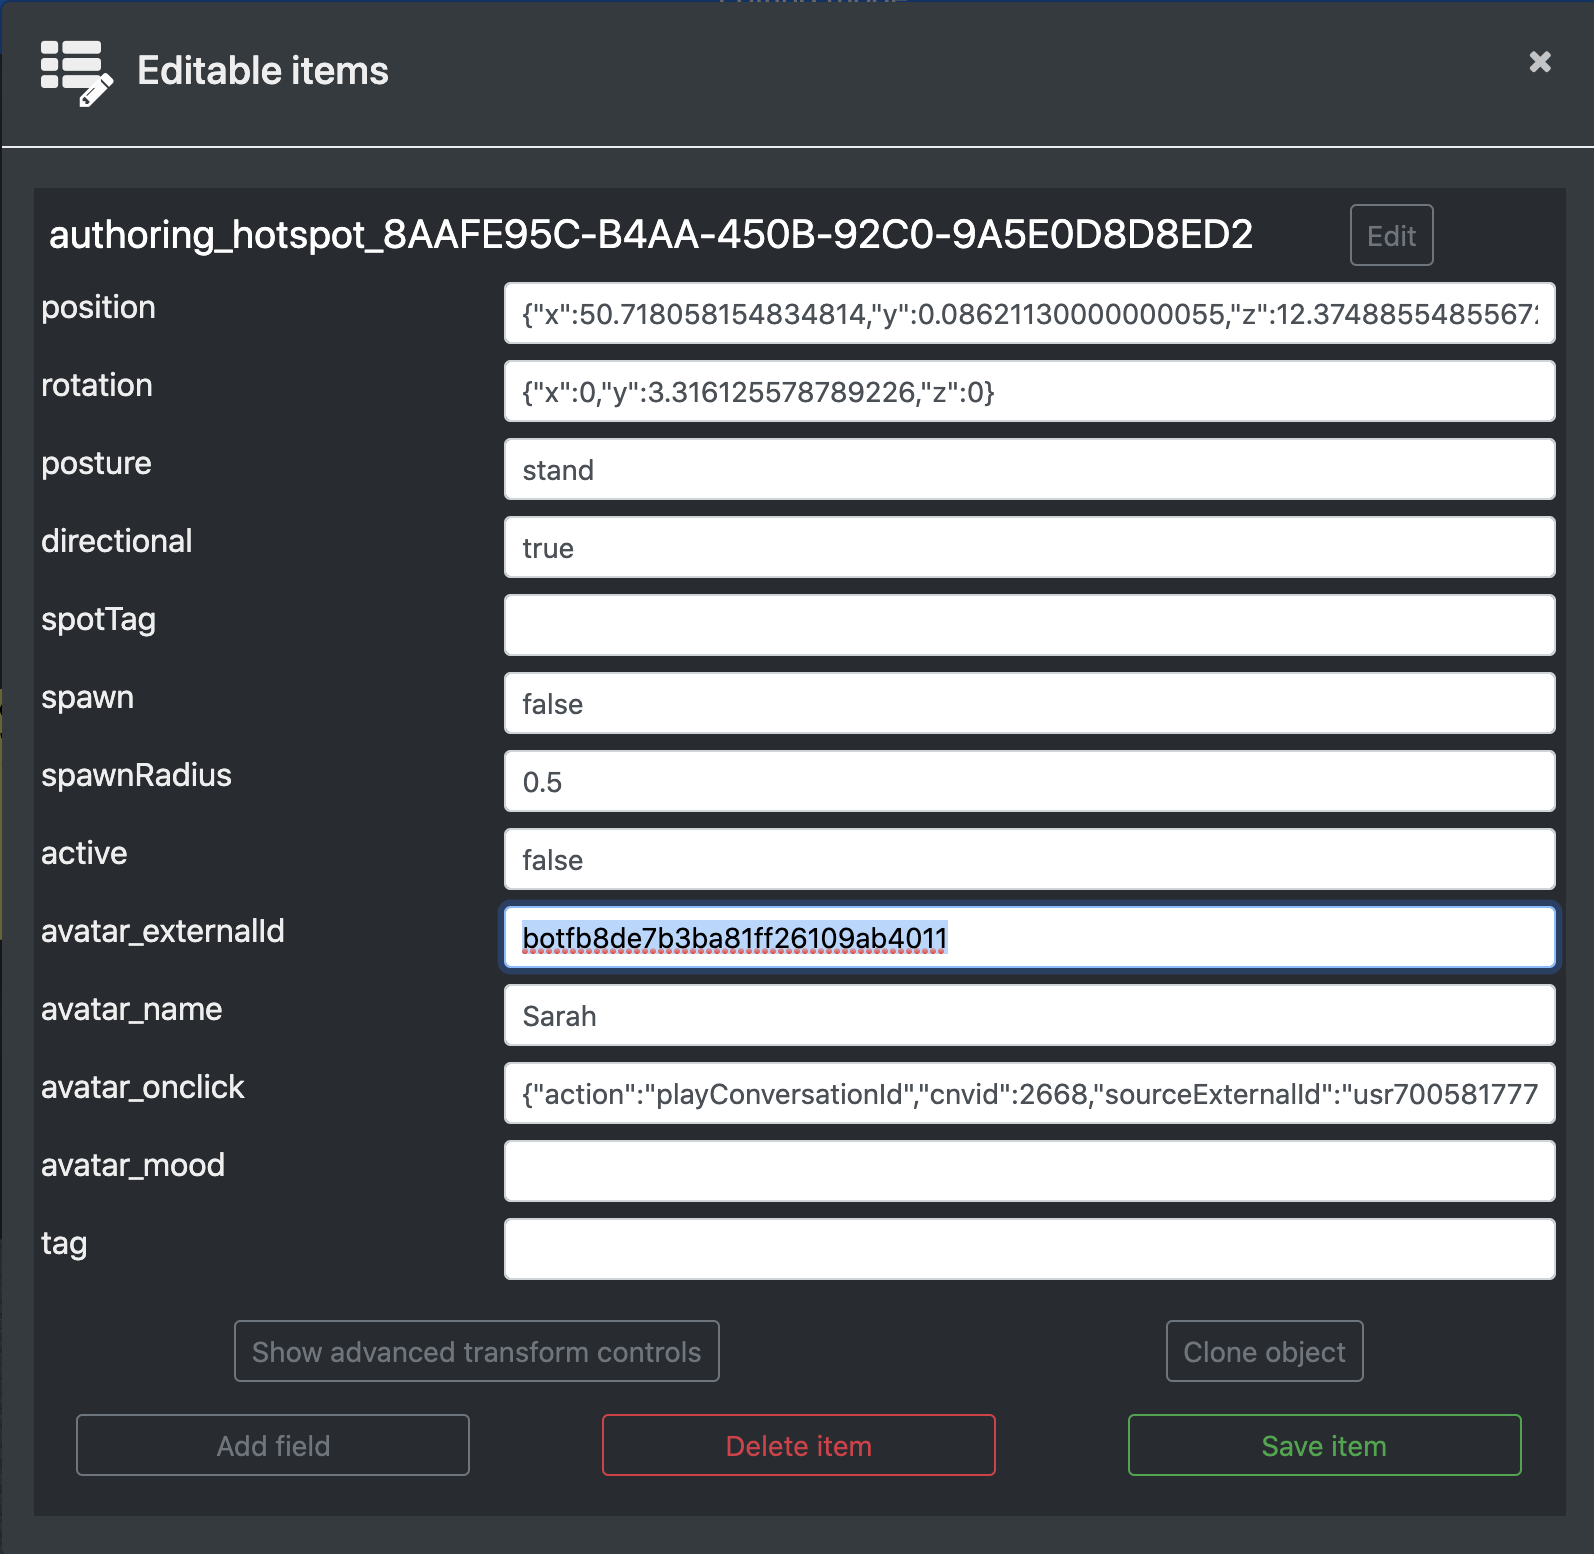
Click the cog/settings icon above the bot. Copy the avatar_externalid and save it . This will later be added to “YOUR_AVATAR_EXTERNAL_ID” code snippet. Close the window.
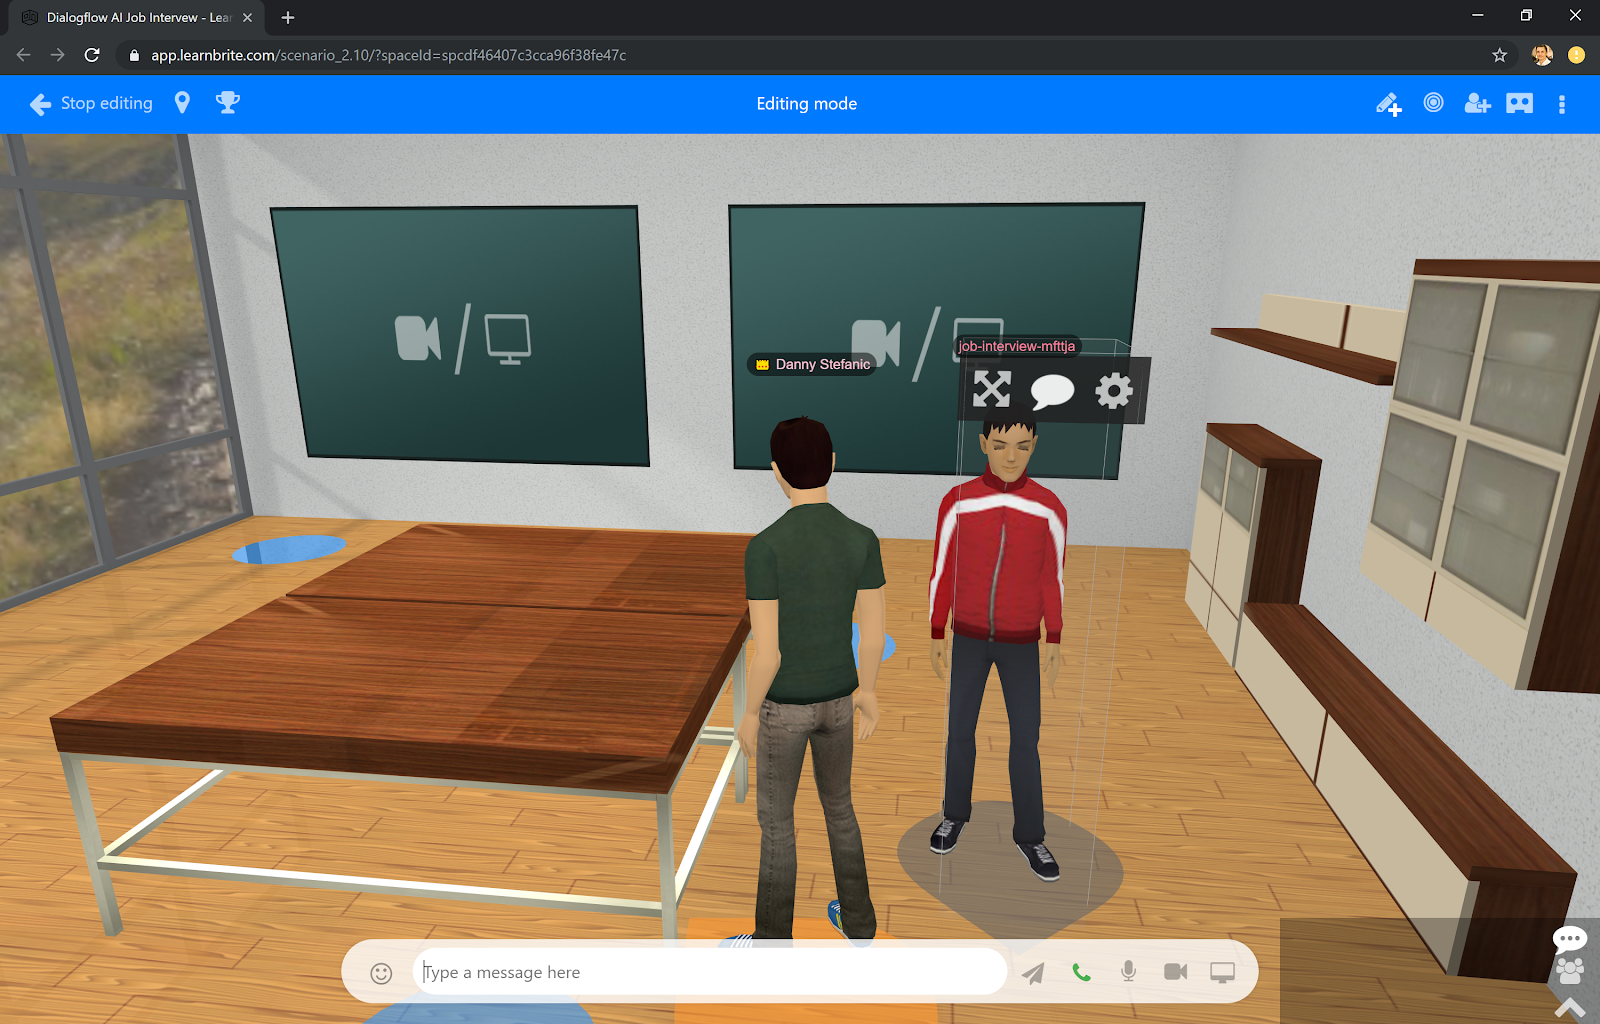
Click the conversation icon above the bot
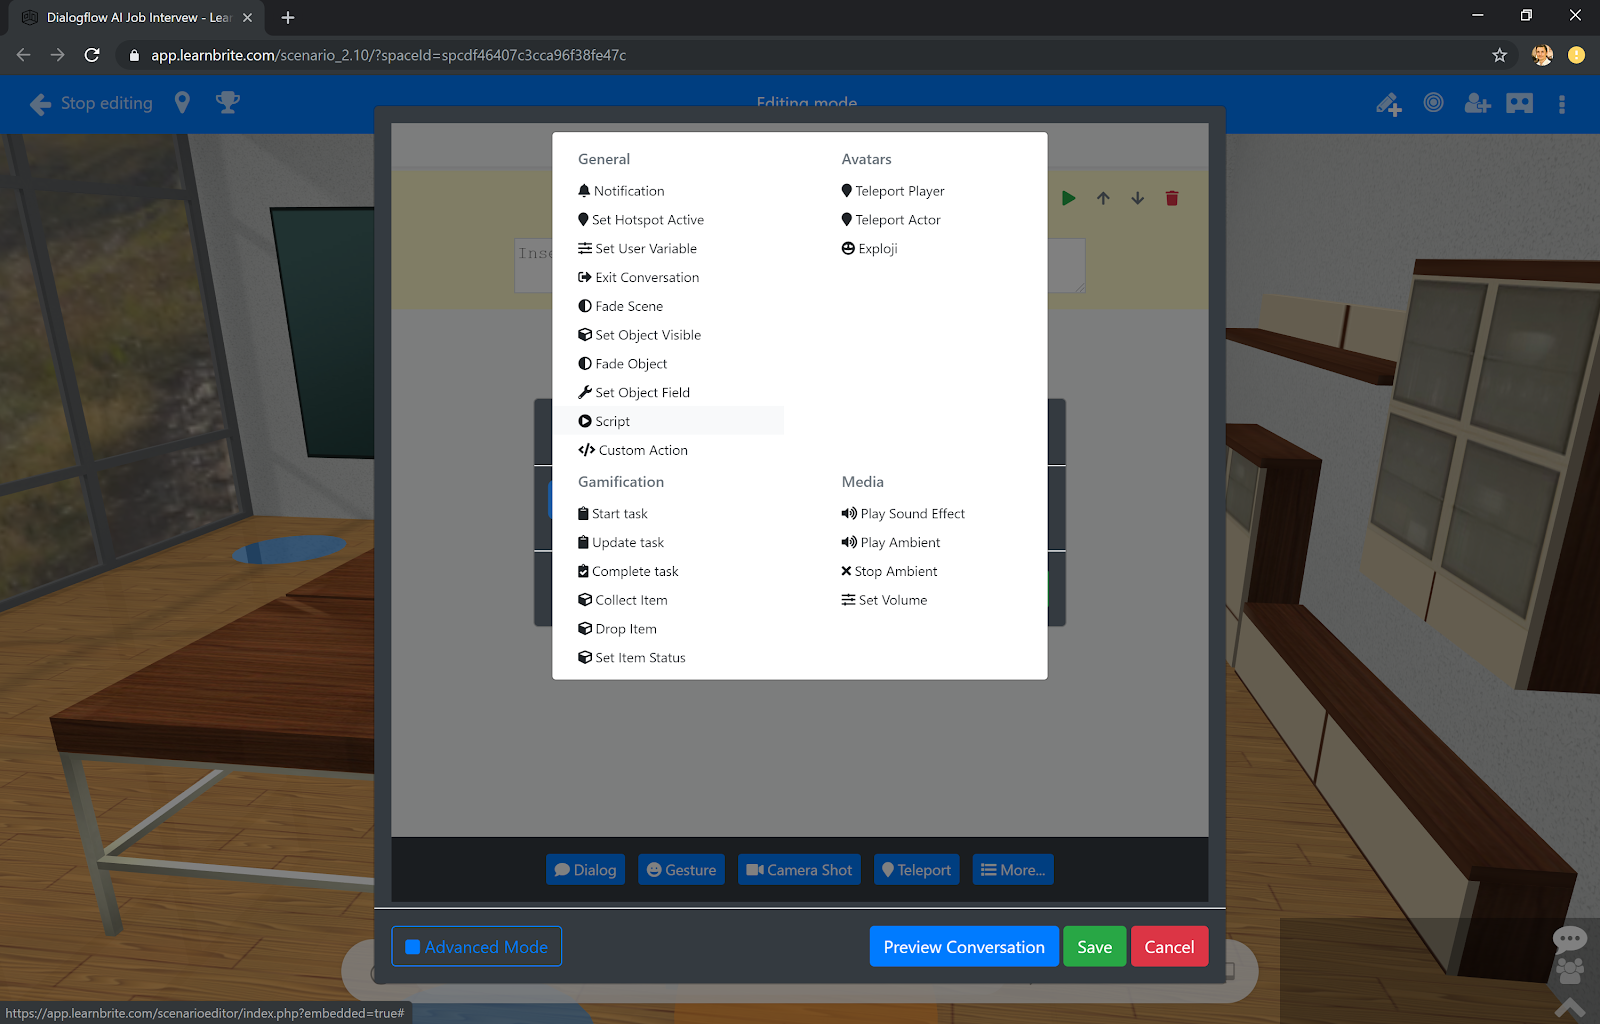
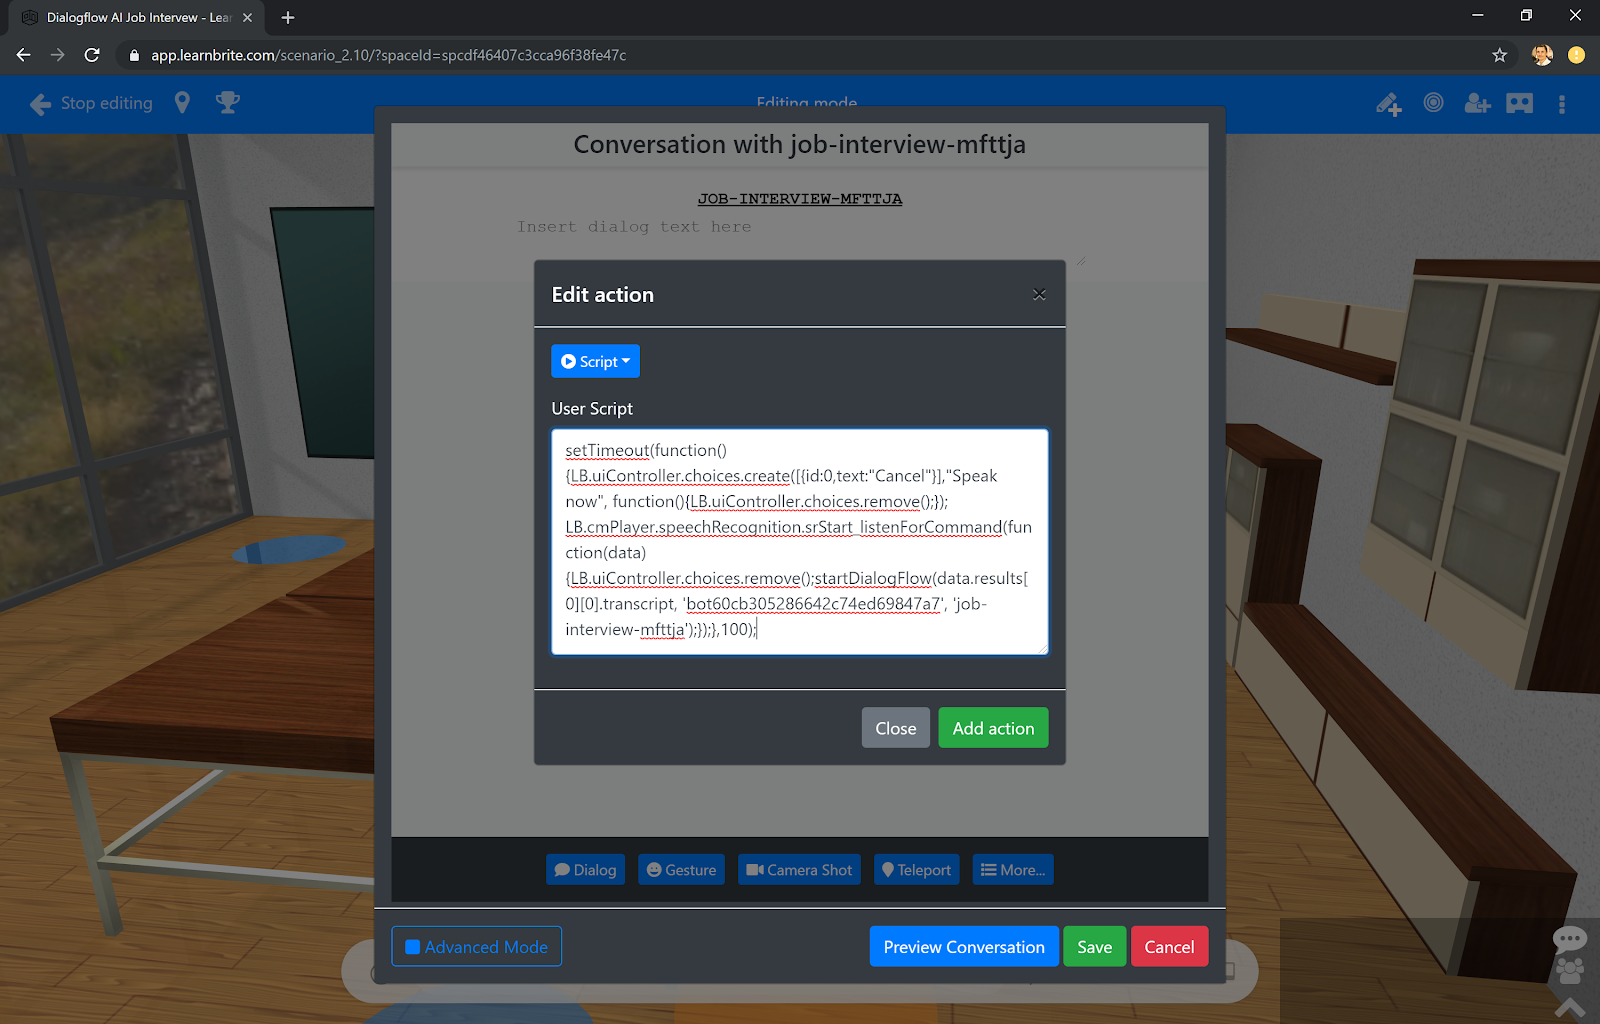
The conversation editor will appear. Click the More button near the bottom, choose the Script action under General.
Paste the following code in the Script field (adjusting to match your avatar_externalid)
LB.Actions.pauseDialog({executedFromEA:true});setTimeout(function(){LB.uiController.choices.create([{id:0,text:"Cancel"}],"Speak now", function(){LB.uiController.choices.remove();}); |
Click the Add action button and Save button.
NOTE: Remove any other action in your conversion path except the script action.
Request activation of wit.ai for your space
Contact LearnBrite support providing the URL to your space requesting for a custom wit.ai javascript file to be added. Below is a javascript template you can use to begin processing wit.ai requests and responses.
https://cache.learnbrite.com/_assets_/partners/witai/witai.js |
function startWit(data, avatarExternalId, witServerToken) { |
The text of the last reply from wit.ai is also stored in a variable called Wit_LastReply. This variable is available across the various access methods, e.g.
// In a script |
You’re done!
Once support has added the script you can then open your space, click your bot and talk to it. Your bot will respond however you built your wit.ai assistant and custom code. Have fun!
