Jump to:
Sharing screen and camera feeds
Adding content to the 3D environment
Invite any participant to Broadcast (Video or Screen)
Special functions in the participants menu
Changing the visibility of layers
Troubleshooting login and audio/video issues
What is a Presenter
“Presenter” is one of the roles available to users, having access to almost all features within the 3D environment except for editing (which is reserved to Editors).
A Presenter can be recognized by the 💻 emoji appearing beside their name.
More practically, presenters are users invited to a 3D space or world to whom the role of “Presenter” is assigned in the interface, either when inviting them or after they are invited.
Presenter-specific functionality is automatically enabled when a user loads a 3D environment to which they are invited as Presenter.
There are two ways to invite users:
- from within the 3D environment (see “How do I… → Invite other users to a space/world from the 3D environment?”)
- from Dashboard (“How do I… → Invite other users to a space/world from Dashboard?”).
What can a Presenter do?
Presenters do not have access to editing, a feature reserved for Editors. Besides that, they have by default access to the following features that are normally not available to users. Click on each of the following links to go to the appropriate section of the document.
- Sharing screen and camera feeds
- Adding content to the 3D environment
- Making announcements
- Managing polls
- Invite a participant to broadcast
- Special functions in the participants menu
- Including managing users in a space and across a world
- Mute selected participants
- Prompt selected participants to Unmute
- Drop call – disconnecting selected participants from the conference call
- Call – invite selected participants to the conference call
- Kick – end the selected session for participants (end of an event or to kick out trouble makers)
- Send to
- Move selected participants to different spaces in a world
- Or reload selected participants into the same space for troubleshooting or after changing a space’s dashboard settings
Sharing screen and camera feeds
A guide on how to share your screen can be found below:
Similar instructions apply to sharing a camera feed:
Adding content to the 3D environment
The platform supports many types of media content and embeds, from audio to webpages to video to documents. A guide on including content in the 3D environment (as 3D screens usually referred to as “mediaboards”) can be found here.
Making announcements
Here is a link to the Announcements guide, and here’s a video!
Managing polls
A guide on polls is available here. Here’s also a brief video explaining the functionality:
Invite any participant to Broadcast (Video or Screen)
A guide on inviting a participant to broadcast their webcam or screen:
An invitation to broadcast can also be extended to any participant using the participants menu:

Use the camera icon with the x, next to the icon highlighted above, to stop a guest broadcast.
Special functions in the participants menu
Presenters can perform a number of actions in the participants menu that are not available to normal users:
- moderation actions (dropping selected participants from the conference call or kicking them from the 3D environment altogether, muting them or requesting they unmute their microphone, etc)
- seeing the capabilities of other users in the 3D environment (e.g. if they have a video camera available, if they can screenshare, etc.)
- Using Send to for teleporting themselves and other users between 3D environments within the same world
An overview of these functionalities can be found on the Participants menu guide.
Changing the visibility of layers
It is often useful, especially if multiple presenters will use the same environment with different videos, 3D objects, etc., to have dedicated “layers” in the environment so that they can be shown and hidden at will. This allows each presenter (or a facilitator) to only show the relevant 3D items, allowing the audience to focus on the presentation as opposed to having a lot of disparate objects in the scene.
An explanation of the layers menu can be found in “Introduction to Editing > Showing/hiding objects > The layers menu”
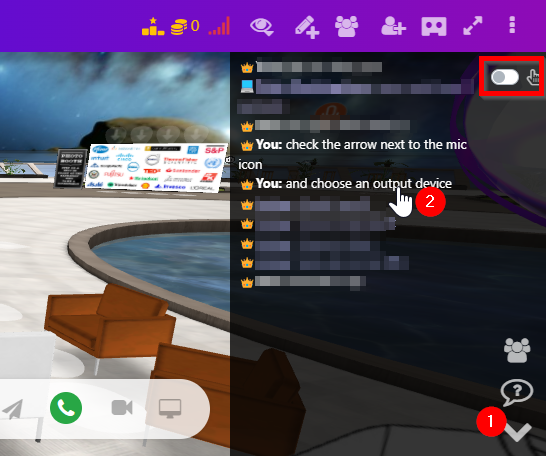
Deleting messages from chat history
Messages can be removed from the chat history. Be sure the copy/paste toggle in the top right of the chat history is disabled
.
- First expand the chat history area using the arrow in the bottom right corner
- Once expanded you can right click on the message text of a message
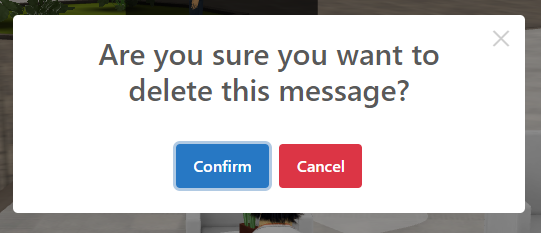
You will be prompted to confirm the message deletion.
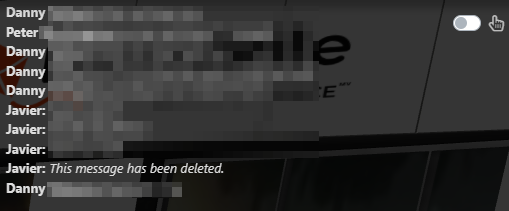
Messages will be shown as deleted in the chat history with the text “This message has been deleted.”
Troubleshooting login and audio/video issues
A guide covering most common issues that users (including presenters) might face can be found here.
