
Guide to using Virtual Reality with Docebo LMS
Adding VR Conferencing or AI micro learning is easy with LearnBrite and Docebo
Admin Guide – Adding a VR Course
Learner’s Experience (including VR)
Did you know that your Hyperspace experiences can be used directly in your current LMS?
Hyperspace Metaverse Platform is aligned with SCORM standards allowing it to be quickly and simply slotted into your existing teaching materials and platforms.
This means two things:
- Your learners can experience 3D VR immersive learning scenarios as part of your courses
- You don’t need to change anything in your LMS!
Today, the spotlight is on Docebo. We are going to walk you through how to add LearnBrite scenarios directly into your Docebo courses as well as how it looks from the user’s side.
Admin Guide – Adding a VR Course
Let’s jump straight into how to add a Hyperspace Metaverse Course to Docebo.
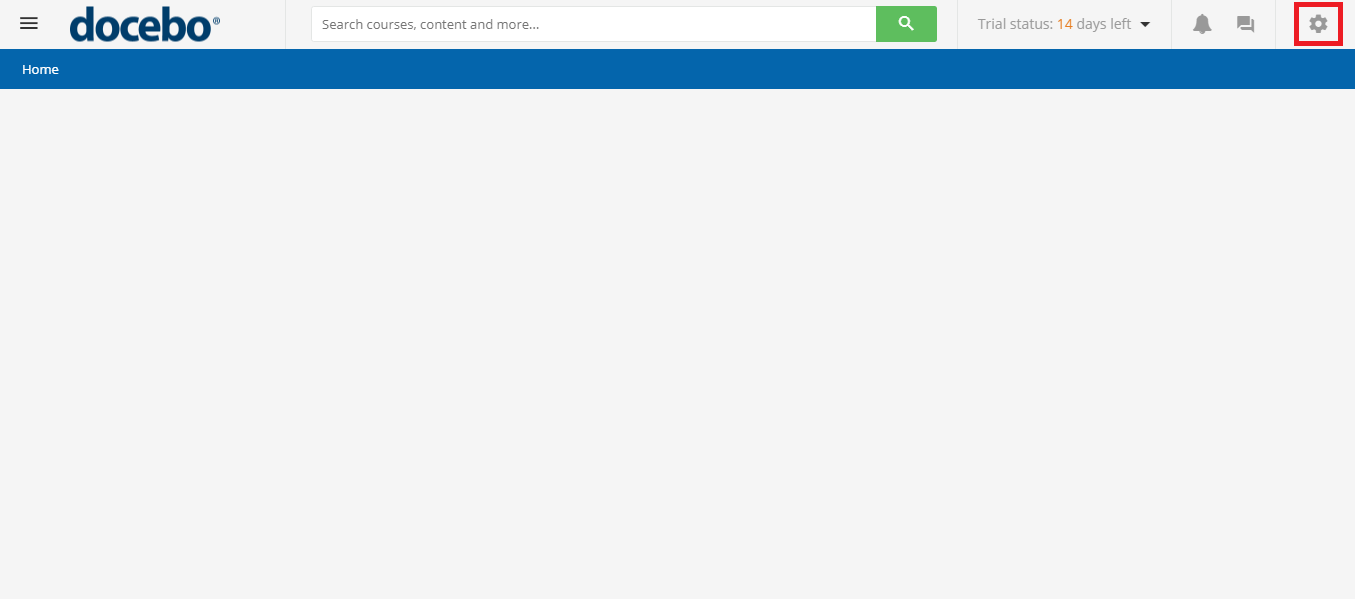
Click on the cog,
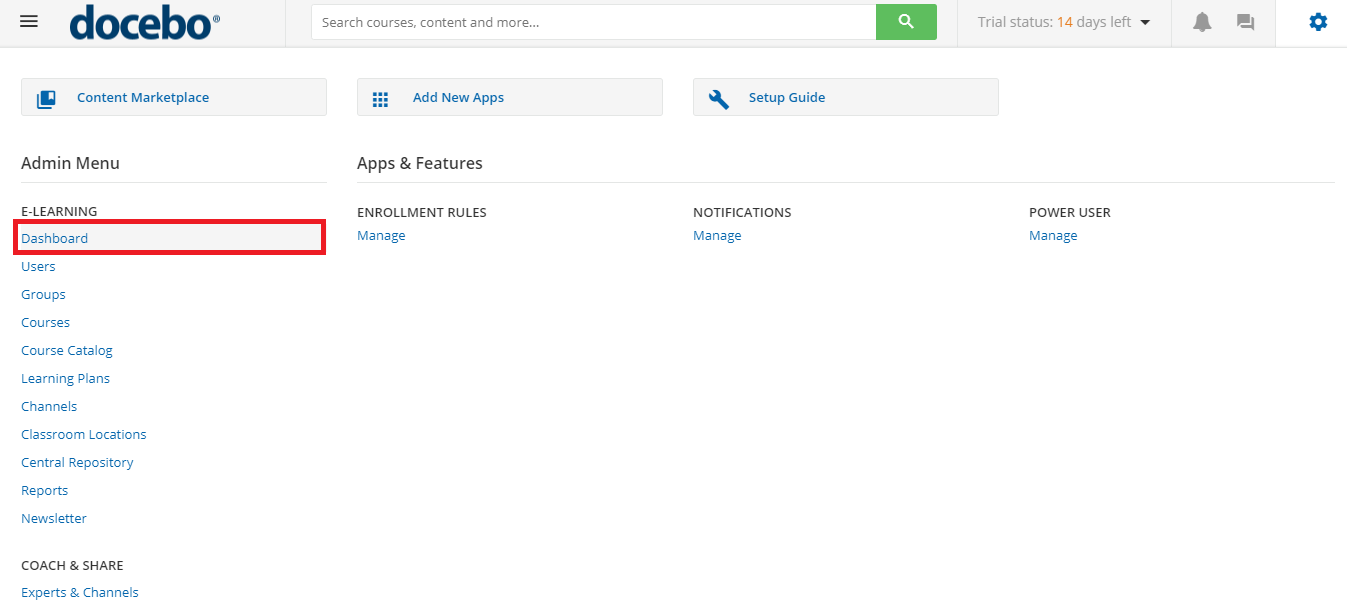
Select “Dashboard” in the Admin section to enter the admin section.
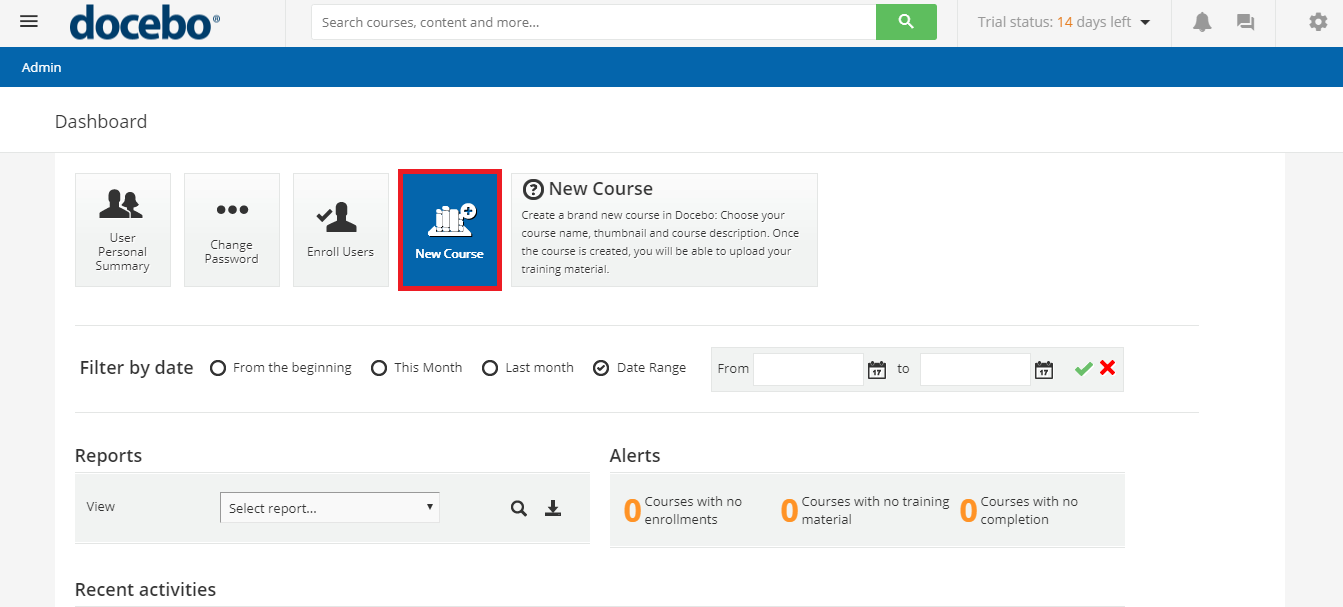
Choose [New course]
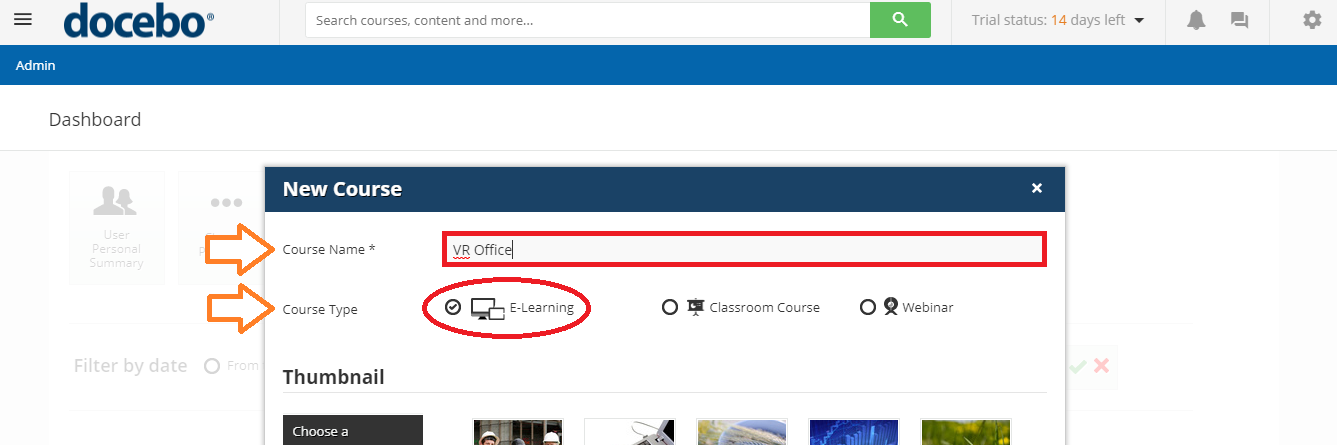
Give the course a name and choose [E-Learning] course type.

Choose a thumbnail image for the course.
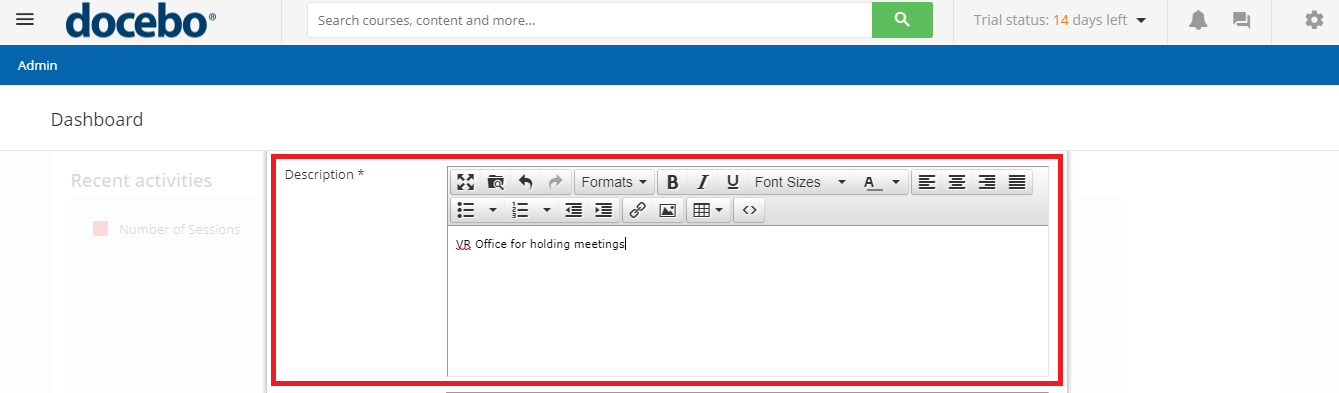
Give the course a description.
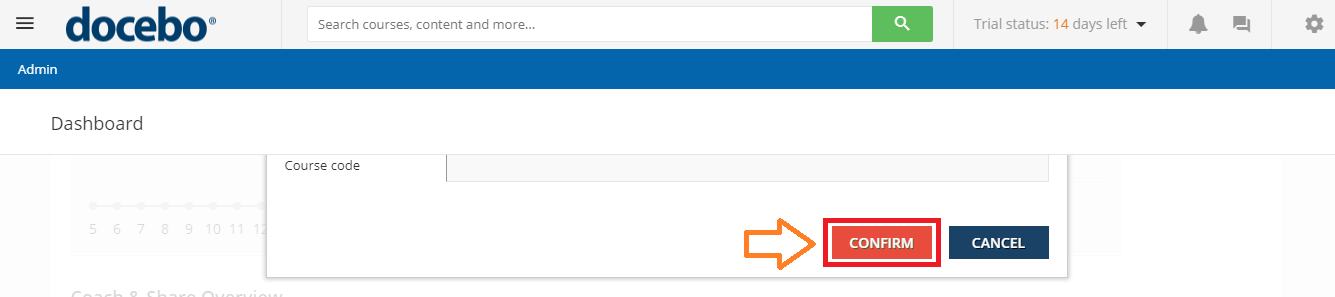
Click [CONFIRM]
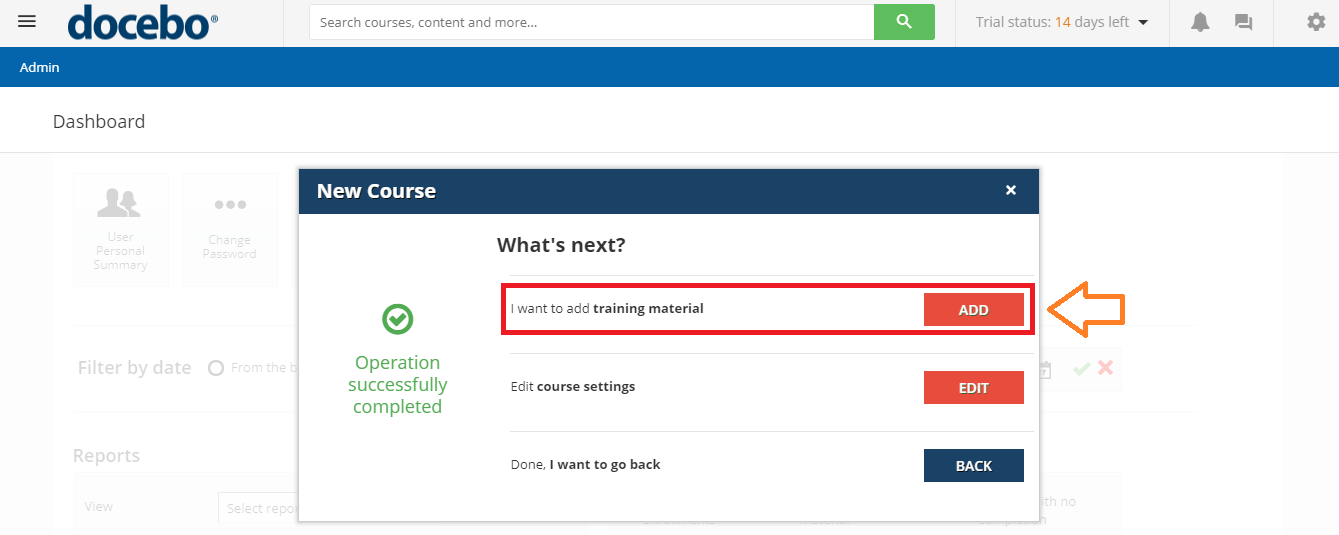
Choose [I want to add training material] click [ADD]
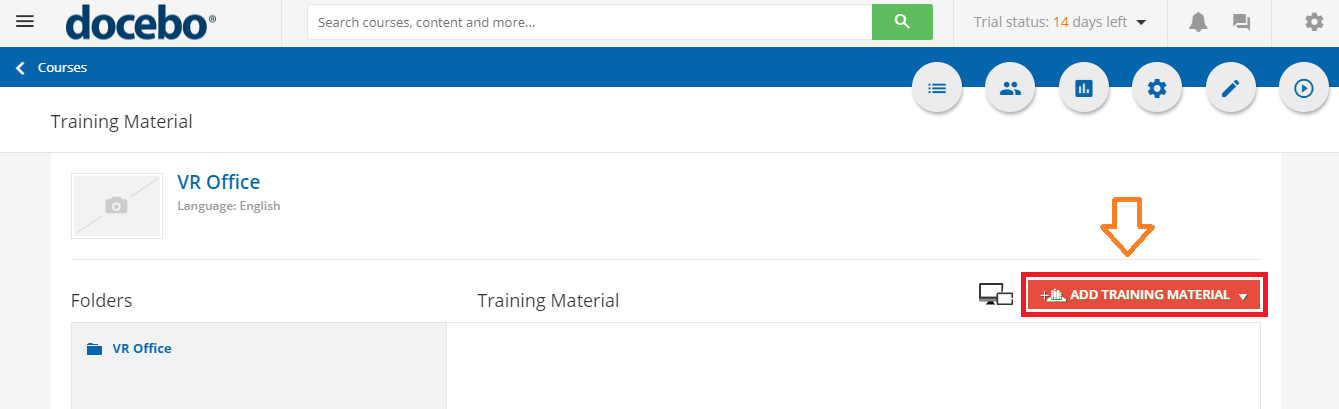
Click [ADD TRAINING MATERIAL]
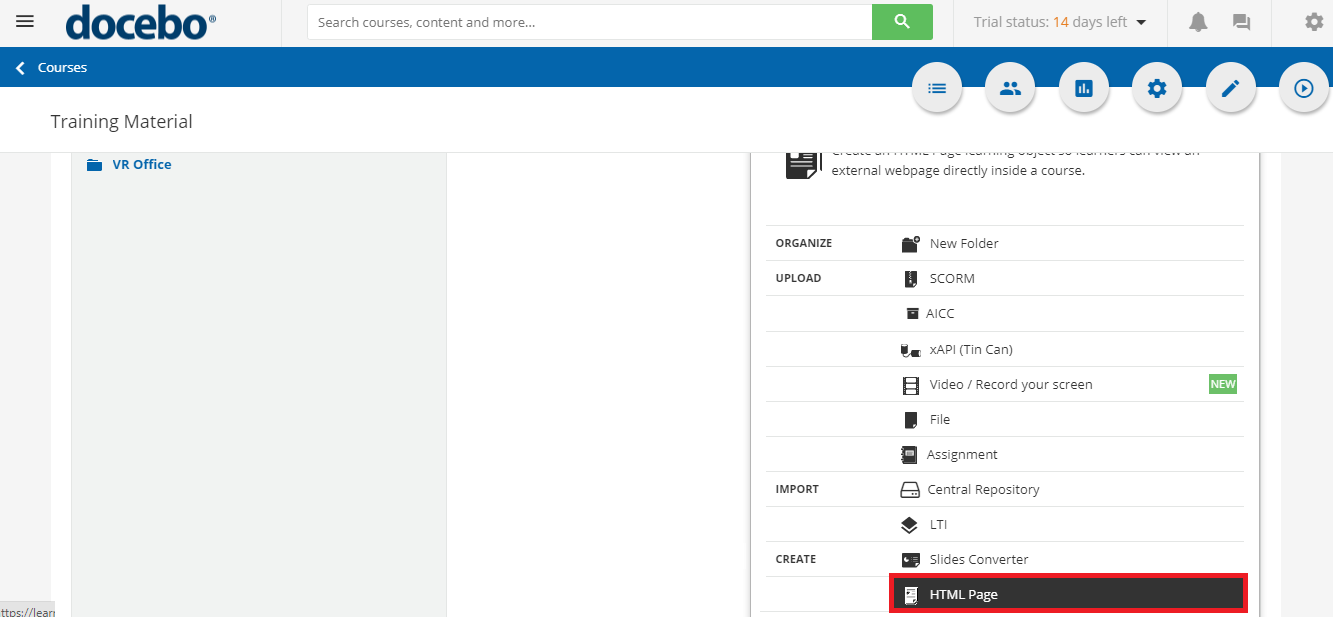
Choose [HTML Page].
(Note the LearnBrite Platform also supports Scorm and LTI options.)
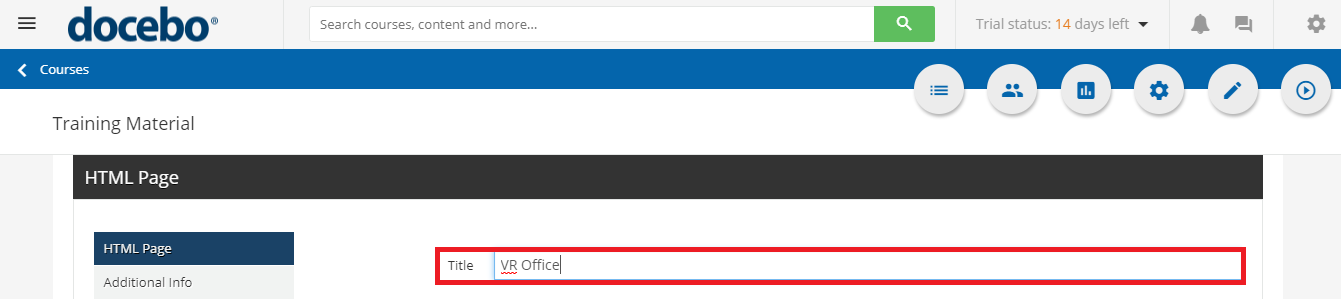
Enter a Title
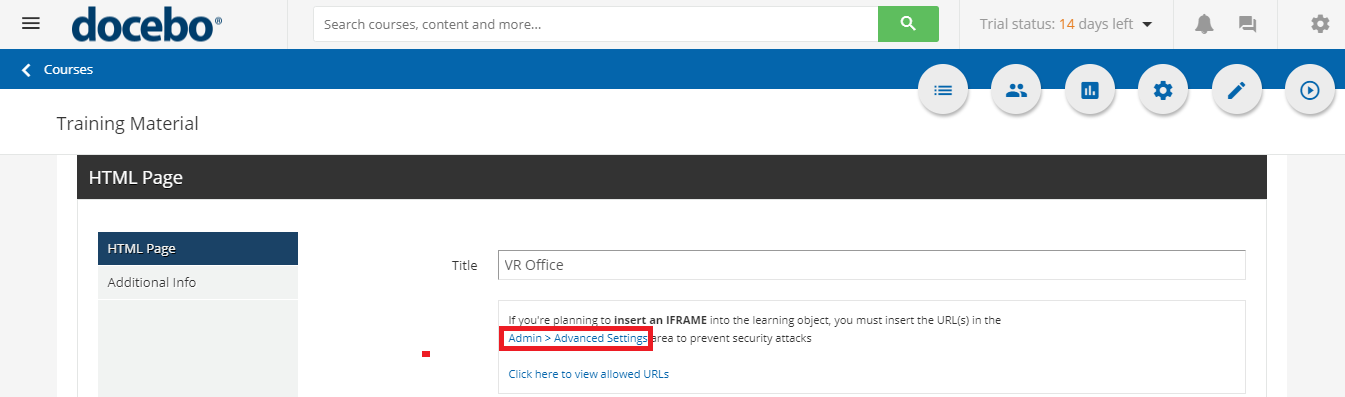
Click on [Admin > Advanced Settings]
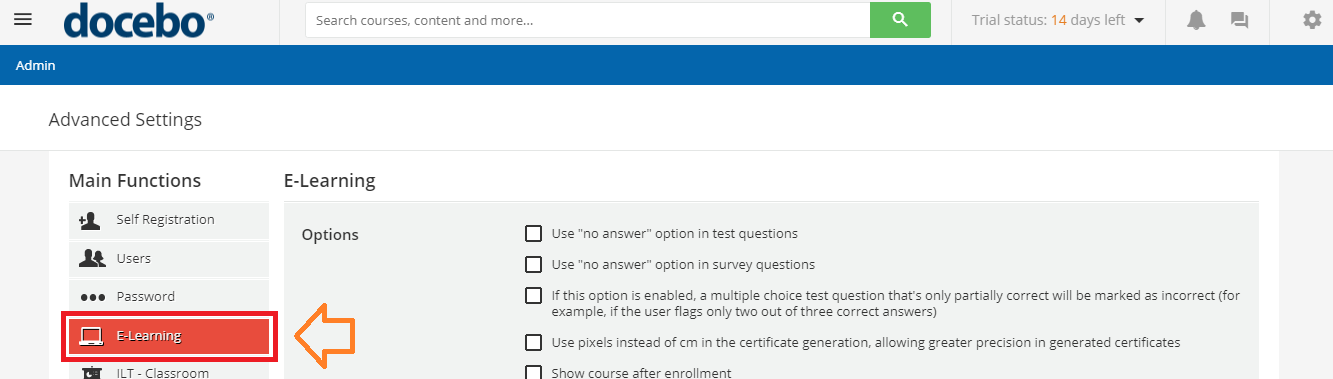
Click on the [E-learning] option in the Main Functions side bar

Add [https://app.learnbrite.com] and click [ADD]
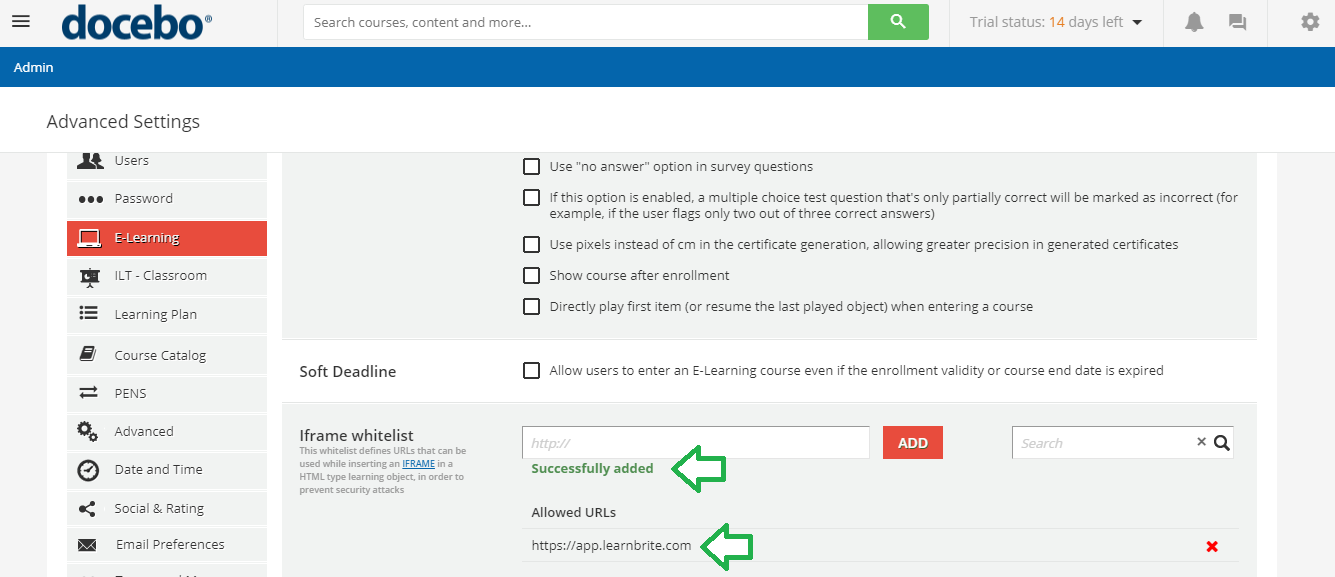
When it has been added successfully, it appears in the “Allowed URLs” section.
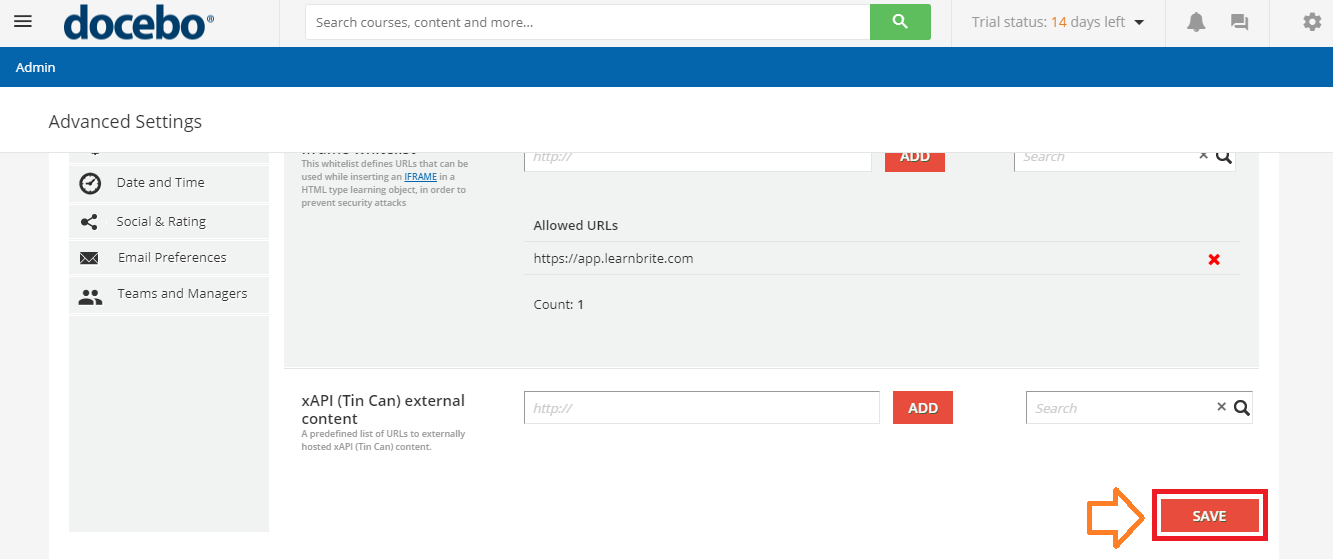
To save the changes, click [SAVE]

Close the window and return to your Training Material Page.
Enter the Source code editor mode, click [<>]
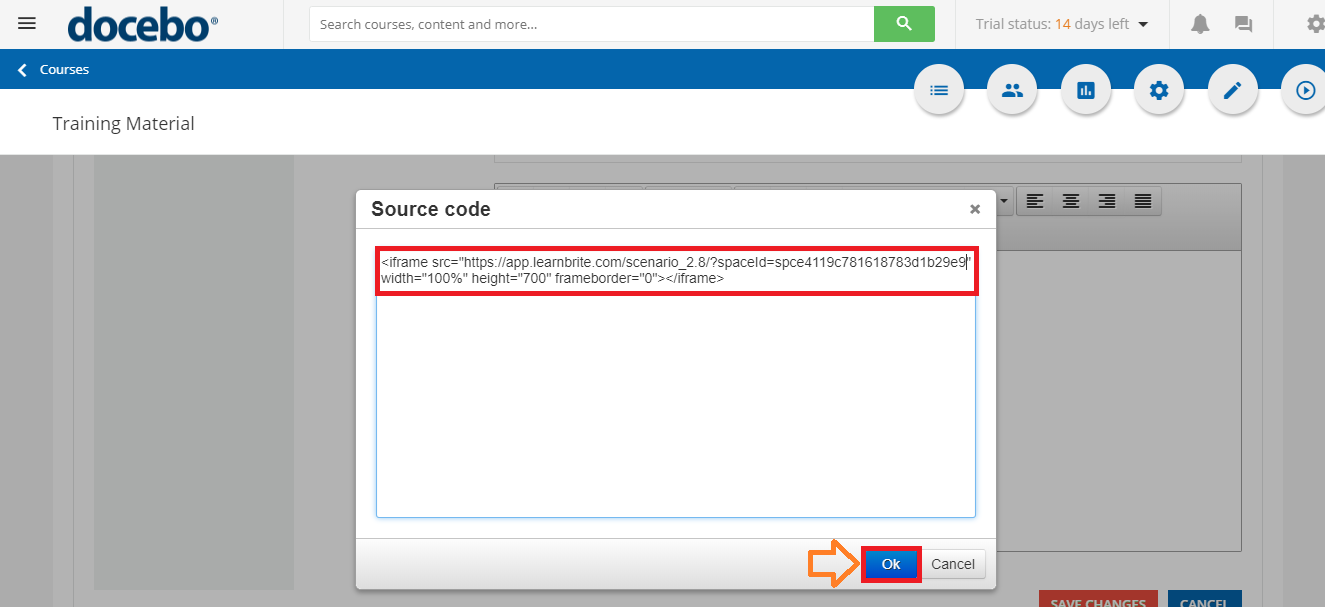
Paste this iFrame code for the Hyperspace experience into the Source code section:
<iframe src="paste your space’s URL here" allow="vr; geolocation; microphone; camera; midi; encrypted-media; autoplay; fullscreen; gyroscope; accelerometer;" width="100%" height="700" frameborder="0"></iframe>
Then click [OK]
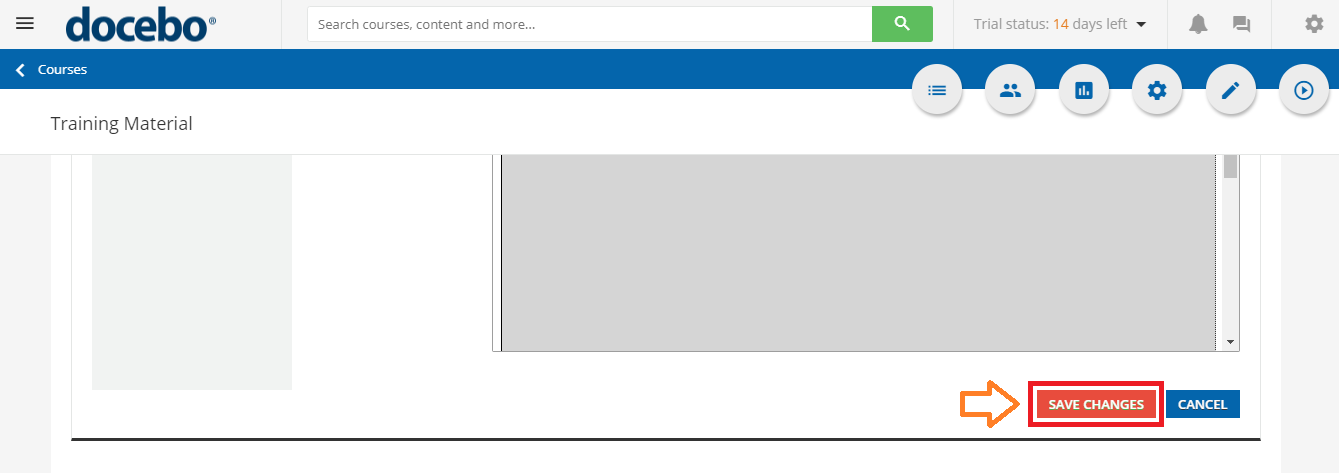
Finally click [SAVE CHANGES]
Admin Guide – Enroll Users
Now that your course is ready, let’s send some invitations!
There are two options:

- Click Enrollments button
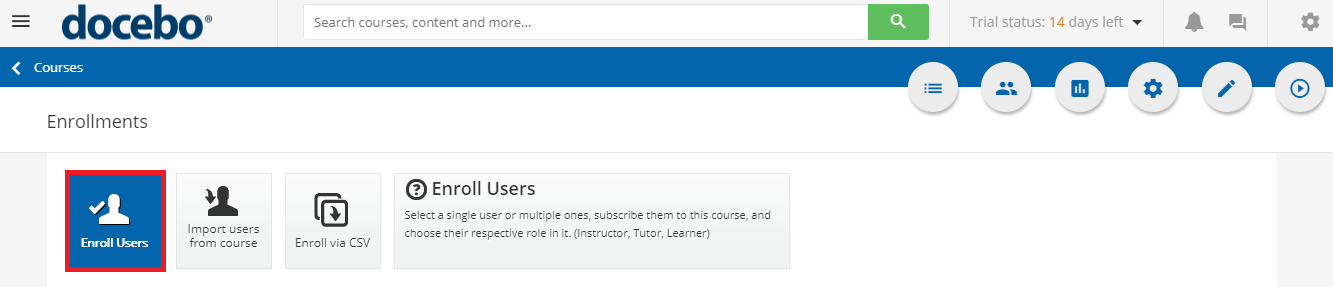
and Choose [Enroll Users]
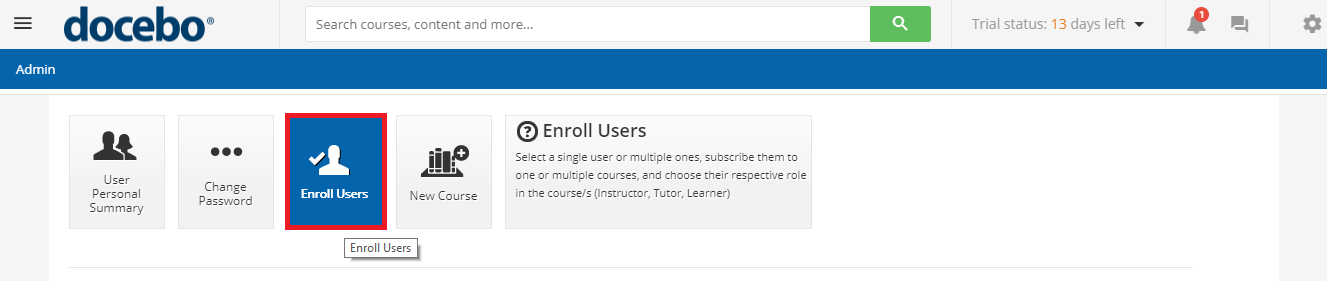
or (2) From the dashboard, click on [Enroll Users]
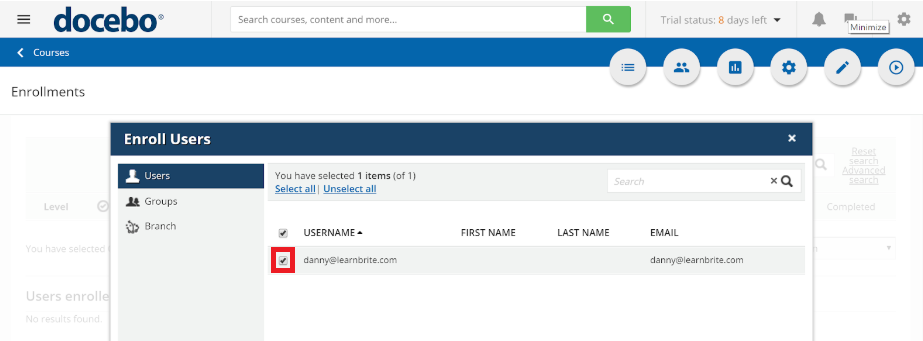
Check the users you wish to add.
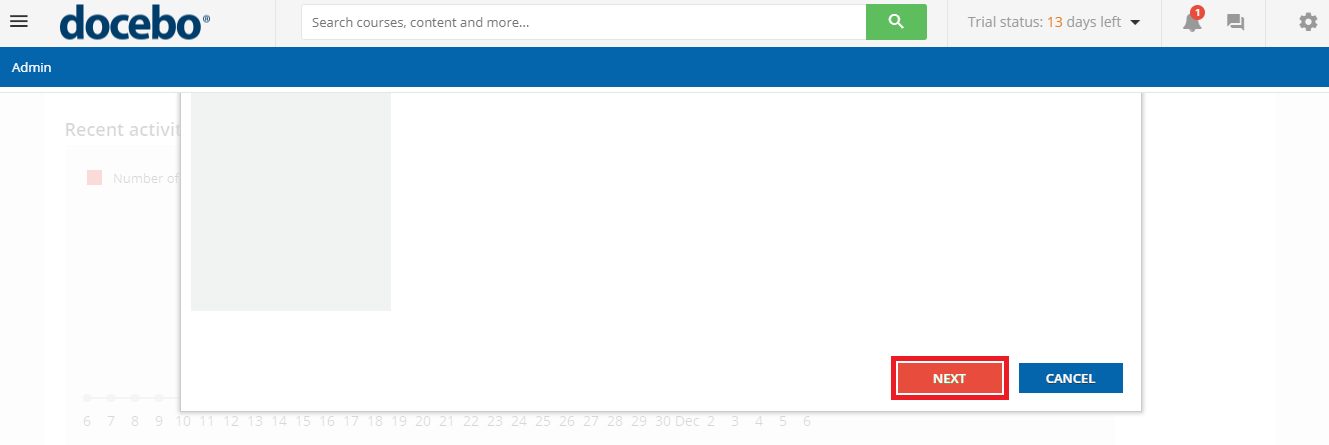
Scroll down and click on [NEXT]
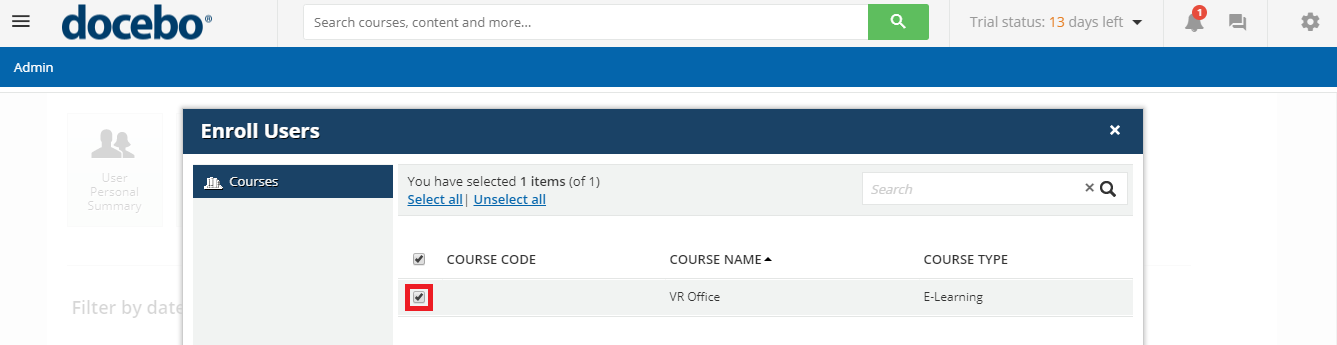
Then select the course to enroll the users in.
Scroll down and click [NEXT]
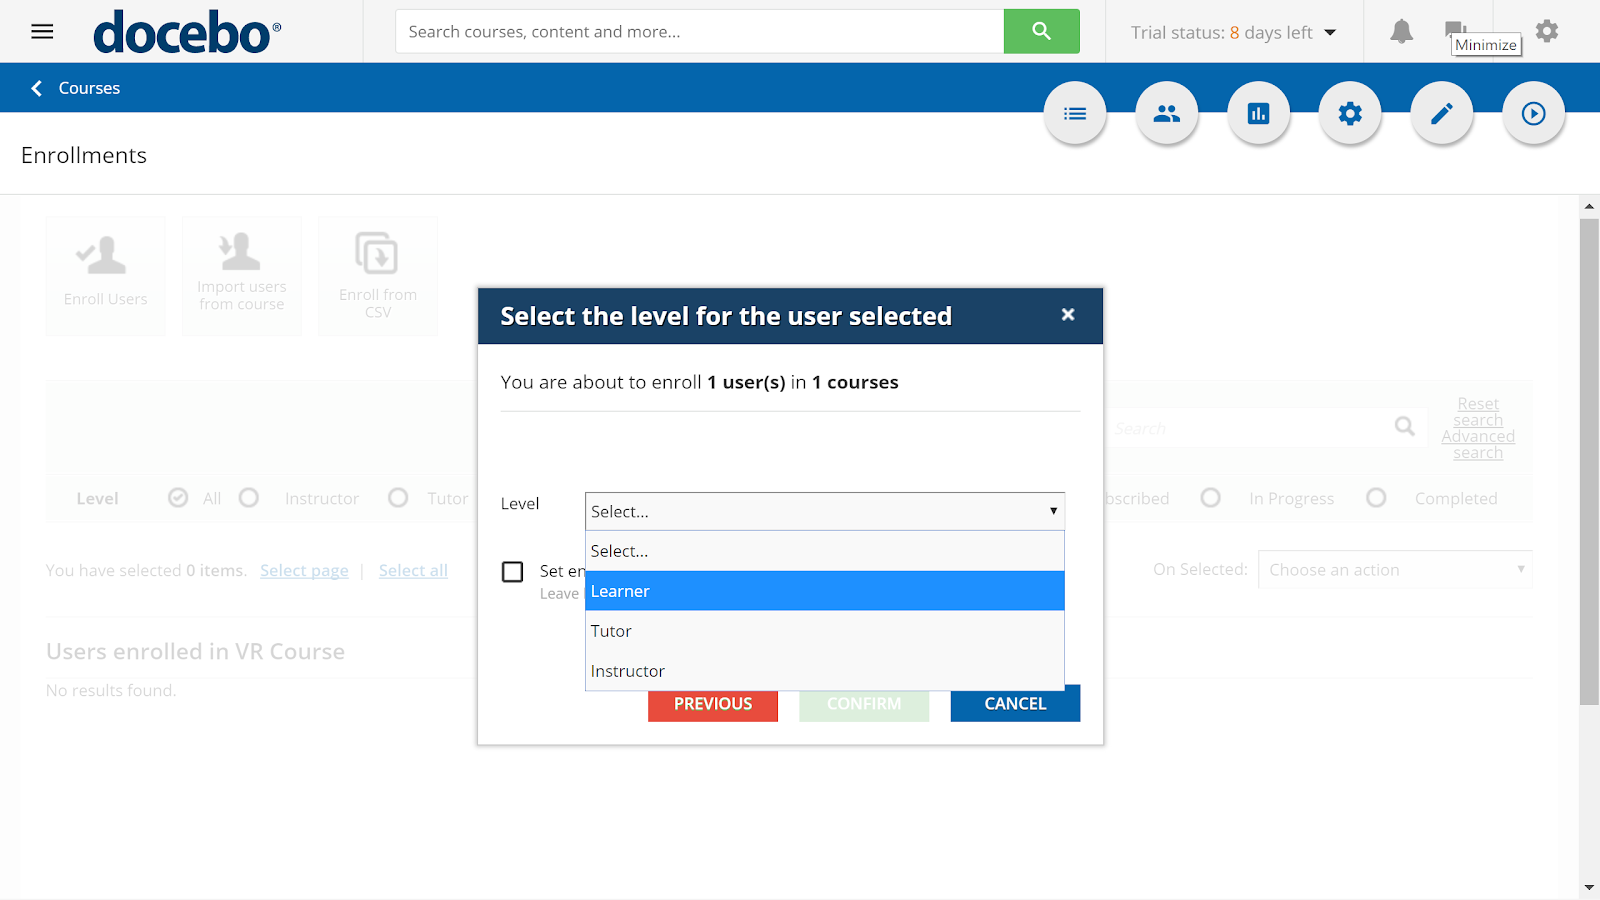
Choose the user level [Learner], click [CONFIRM] (The [CONFIRM] button will only become active after a level has been selected).
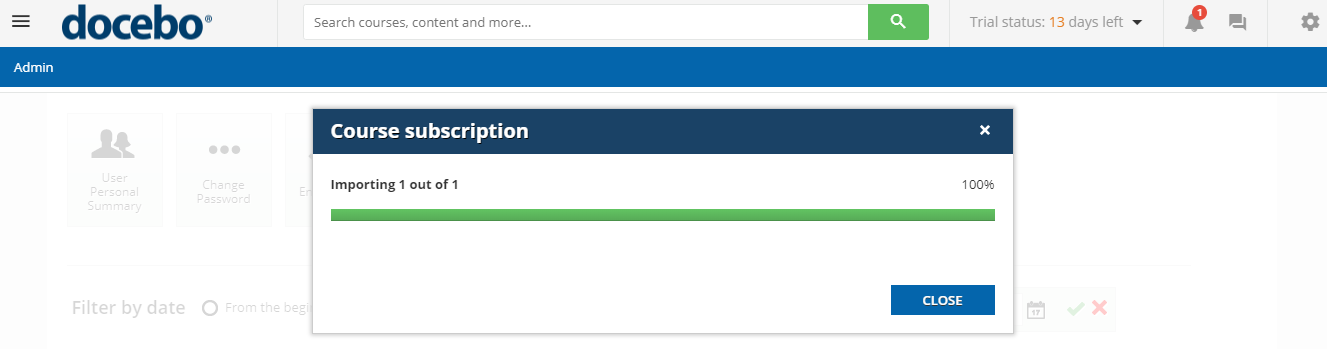
When the Course Subscription importing bar has reached 100%, click [CLOSE]
User Guide – View VR Course
The course is ready. The invitations are sent. Now all we need are the users!
Let’s have a quick peek at how simple it is to access the Hyperspace Courses and what they will look like for the users.
The new course appears on the users Dashboard.
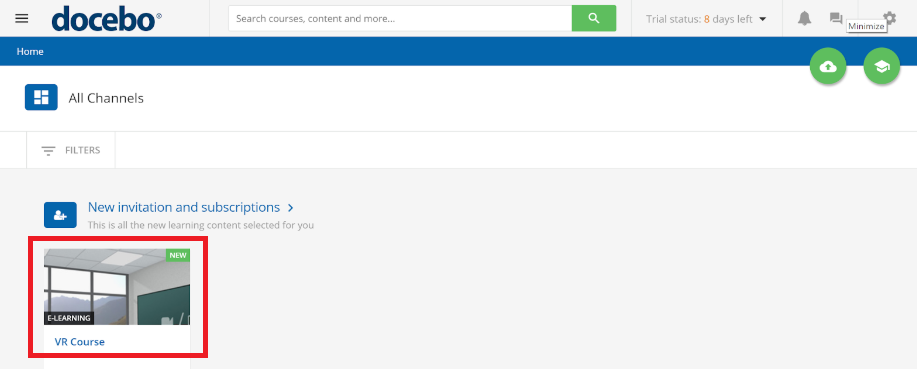
Click it to launch.

Click on one of the [START LEARNING NOW] buttons
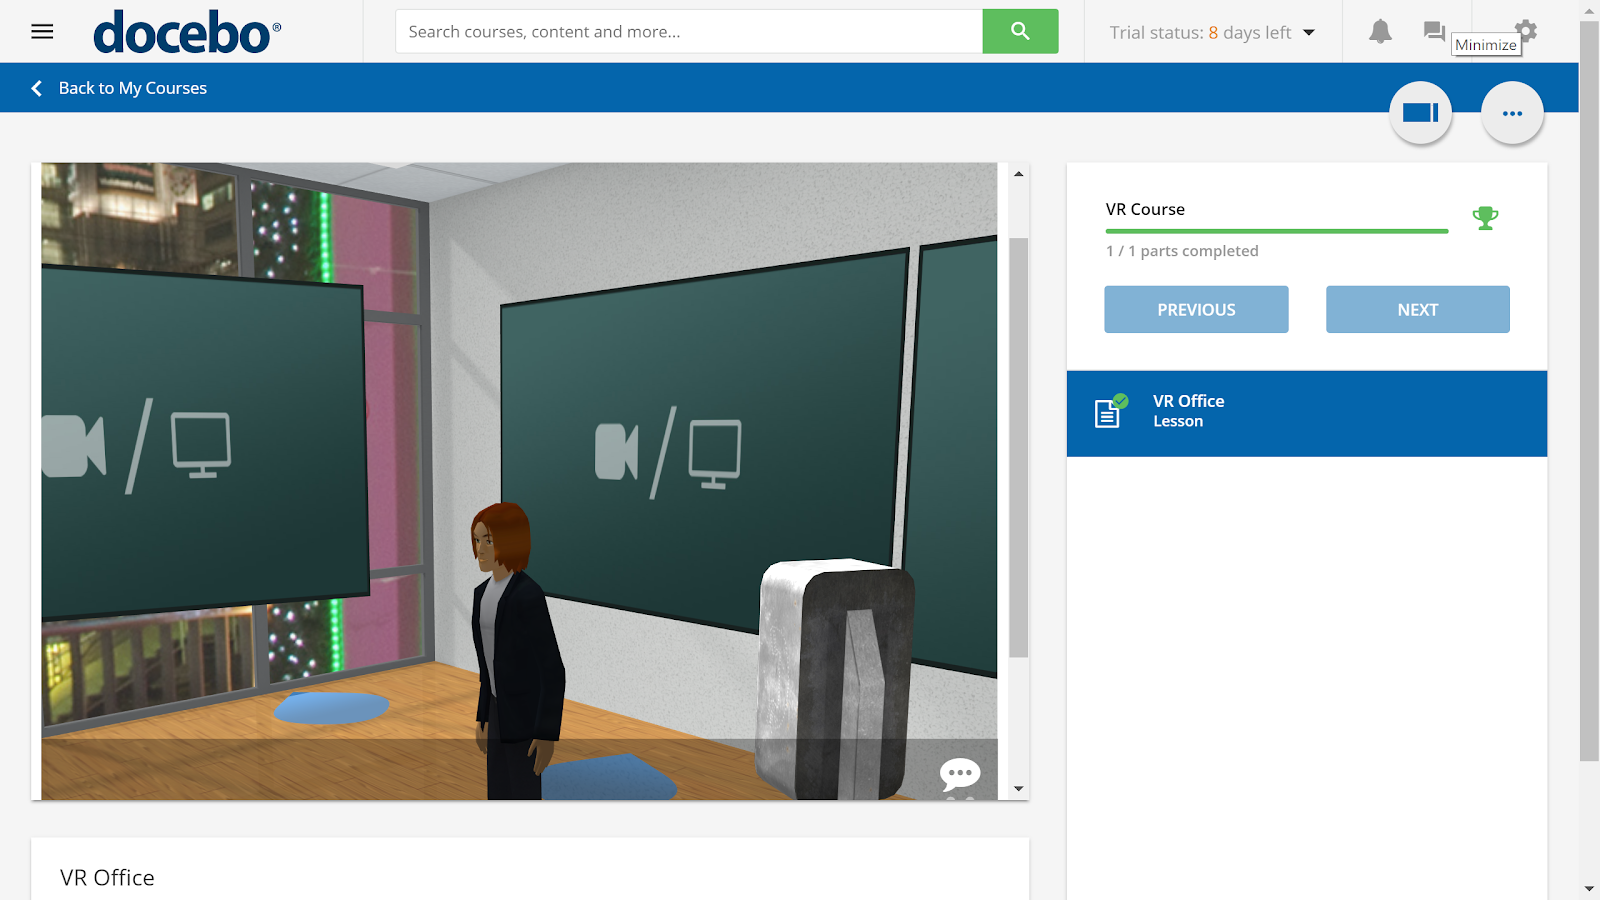
And there you have it, a Hyperspace learning experience working hand in hand with Docebo.
Admin Guide Video
Learner’s Experience (including VR)
Trademarks & Copyrights are property of their respective owners. Pictures are indicative only & may not reflect final production.
